SUPPLIES
- Scissors - Keep a pair handy, because more than likely you will have a piece to break while you’re crocheting and you’ll need it for finishing off.
- Large Crochet Hook – I found an 15mm ergonomic hook at Hobby Lobby labeled as a P-Q. Because it did begin to hurt my hands – and actually left cuts on my pinky, I later covered it with a technique I found online using the rainbow loom bands. It’s enabled me to work on these a lot longer at one time.
- Stitch Markers (optional) – optional but helps
- 2 Binder Rings (optional) (I found a pack of medium-sized at Dollar Tree)
- Barrettes (optional) (Also found at Dollar Tree – set of 10)
- Plarn (see post about making plarn)
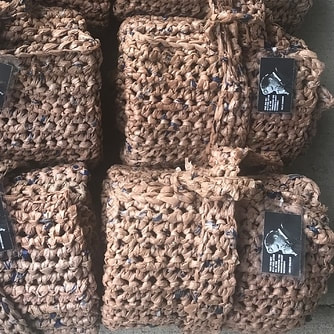
Because, in most cases, this is going to be used on the ground, I tend to lean towards the all brown bags so they won’t show the dirt as much. Once again, the bags will be a personal preference. I prefer Kroger over Publix bags because they’re sturdier even though Kroger has recently changed their bags. As you start making these, you will find whatever way works best for you. This is just what I have found works best for me.
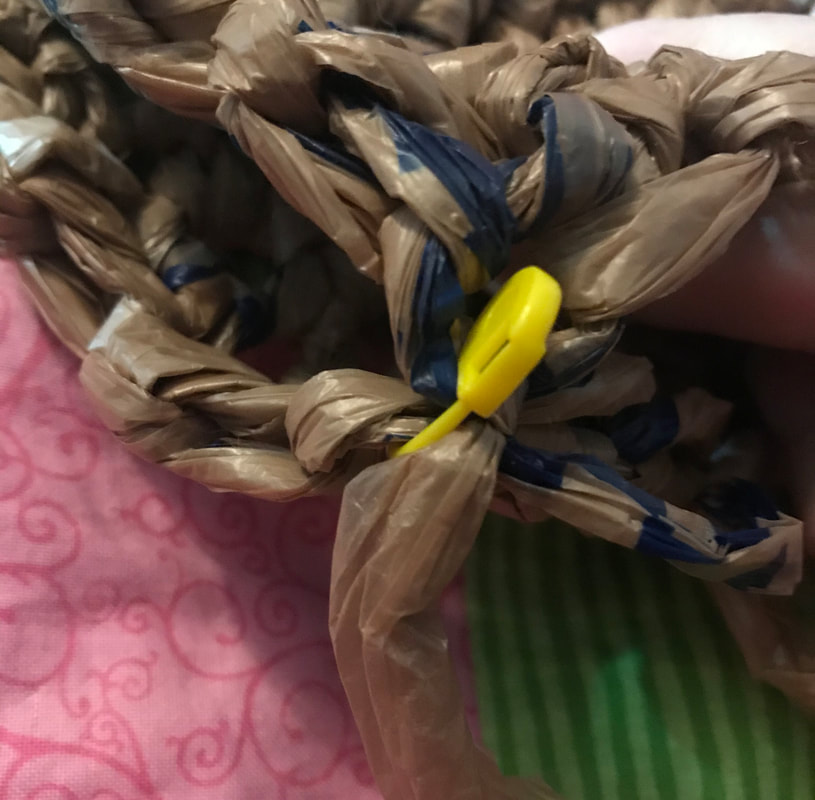
You want your final mat to measure 2.5’ wide by 6’ long. After I get to the point of having 2.5’ x 1’, it starts to get a little in the way. If you will fold in half – so it reduces it to 1.25’ wide just to be clear – and then in the corner place a stitch marker so it holds it together. Once you do get to the 1’ mark, hold the mat together and place another stitch marker. Then begin rolling the finished end towards your working end. The stitch markers will hold it together nicely. Now also hold your roll down close to your working end (but not so close that you are unable to crochet) and attach the binder rings to hold the roll and mat together. This makes it a lot easier to work with and not have the mat following all over the place. It also simplifies storing it a bag between working or carrying it to a stitch group, if you participate in one.
Each time you hit that one foot mark, add a marker in the same fashion and move your binder rings. Once you have six markers, then you’ve only got a foot left to go! If the foot is too long, to go between moving the binder rings, you may want to just to an alternate marker color at the 6” mark. (Again, whatever makes it easier for you.)
TIP: If a piece does break while you’re crocheting, and it will happen at some point, cut it off as close to the knots as you can and pull off the knots. Stuff all of those into the newspaper sleeve (or whatever you choose to use).
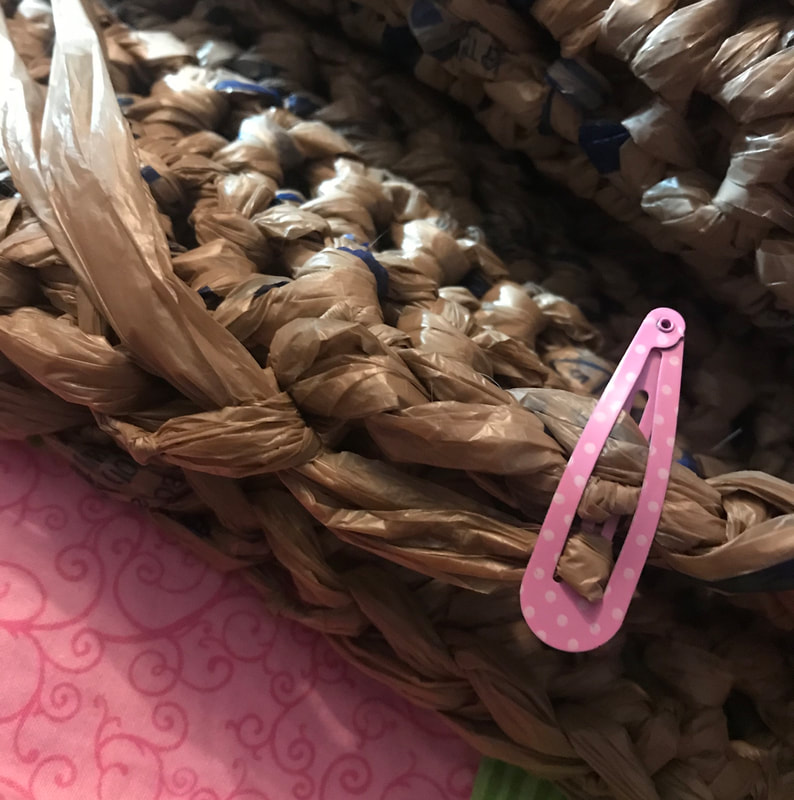
TIP: If you’re going to set it aside for a bit, which these take hours so more than likely you will, a hair barrette can hold your spot. Because of flipping it over to change crochet directions, I often get confused when I return. I will take the hook out, place the barrette through the loop and then through one of the empty loops in the direction that my next stitches will go.
TIP: If you’re going to set it aside for a bit, which these take hours so more than likely you will, a hair barrette can hold your spot. Because of flipping it over to change crochet directions, I often get confused when I return. I will take the hook out, place the barrette through the loop and then through one of the empty loops in the direction that my next stitches will go.
Now once you get the finished 2.5’ x 6’ mat, you’re going to want to create a way to hold it together. I’ve varied this process as they didn’t give us instructions in the class I took for it.

With the mat folded, I started with a single crochet at just off center and single crochet a length of 30”-31,” (measure and make sure that the strap will make it all the way around the mat and adjust accordingly) turn and single crochet back to the mat, single crochet into the next two loops and return with single crochets to the opposite end again. Without fastening off, single crochet approximately 24” and single crochet back into the other side of the strap (creating a large loop), return back to the other side with a single crochet into each chain on the loop.
Something I just started doing is to add a “button.” I never do a “button hole” – though I probably should try it out, but just force it through a spacey part of the strap so it fits tightly. The button is just as simple of a round as you can get it. Ch 5, ss through the first ch and then sc into the center around until you get a nice size and then ss to the first sc. (In this photo, I made the “button” out of yellow bags just to make it show up better. I was able to do it with just one bag.)
Now I also create a handle that fits on either side of the base of the strap. Same method as before. Just ss and sc into a stitch on one side of the strap, sc into a stitch on the other side of the strap, plus one more and then return to the other side to make it sturdy.
 RSS Feed
