I've been working on a wreath off and on for the past couple of months. It really shouldn't take me that long but I would do a step and then set it aside and pick it back up. Hopefully I will finish it. Soon.
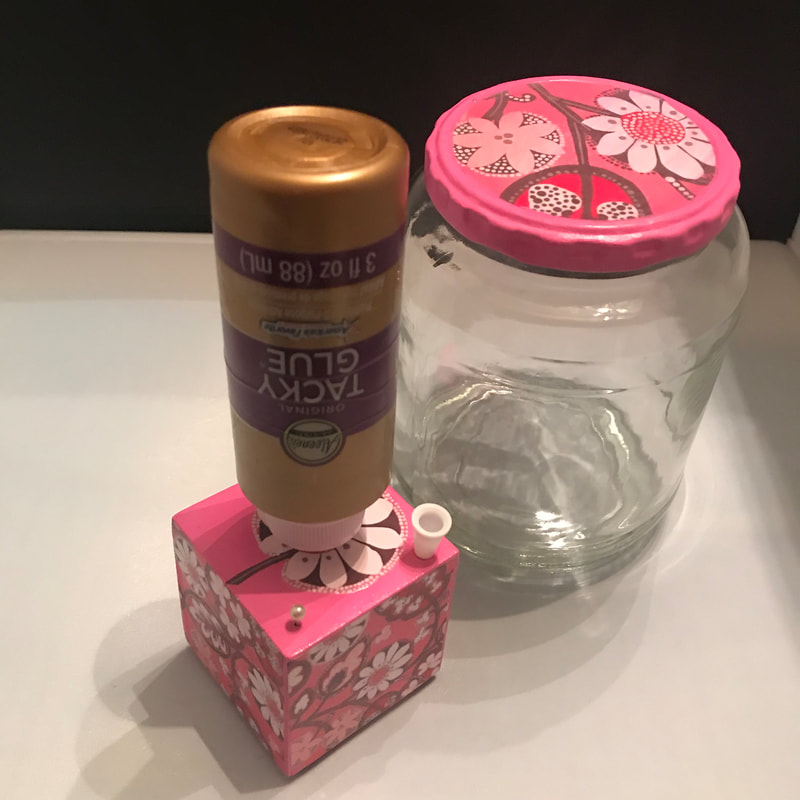
Anyway, I was working on one part of it with a bottle of glue that I got sick of tapping every time I needed the glue to come out. I know they make upside down bottles, but in the long run, this was a cheaper option.
Anyway, I was working on one part of it with a bottle of glue that I got sick of tapping every time I needed the glue to come out. I know they make upside down bottles, but in the long run, this was a cheaper option.
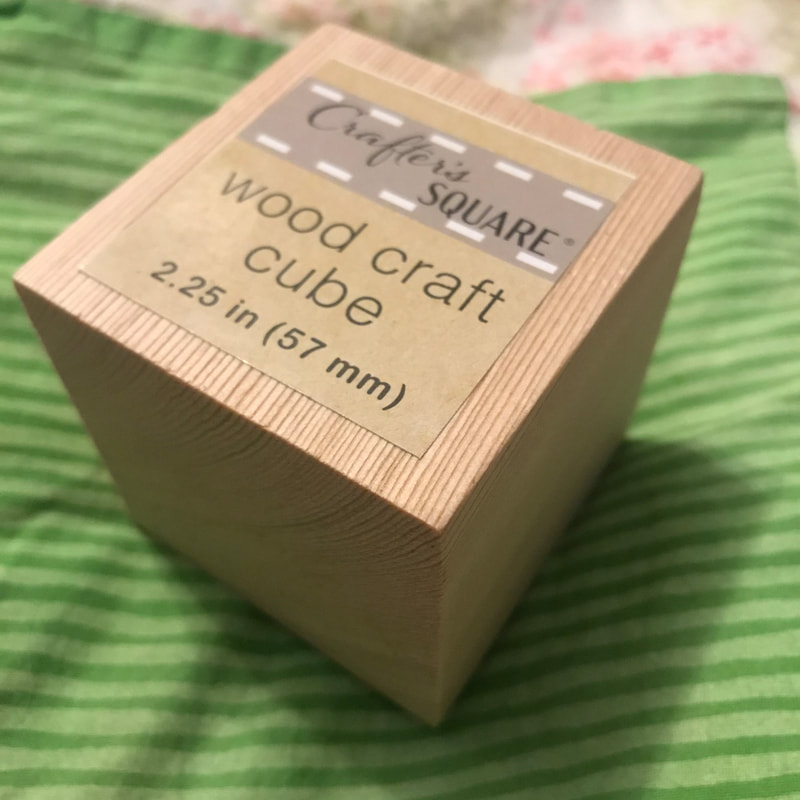
Dollar Tree has added a lot of new craft items to the craft section by Crafter's Square. One of those things that I recently found was a Wood Craft Cube. I decided this was going to be my new friend.
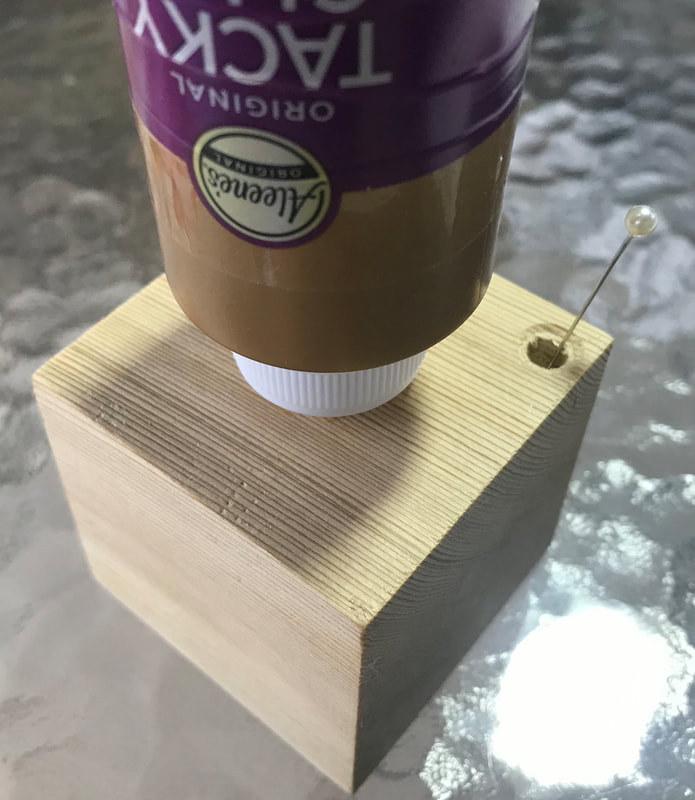
Now it does take some trial and error. Hopefully less error than trial. After I marked the top of the block with an "X"- use a ruler marking corner to corner. Then I measured my drill bits against the size of the glue nozzle. I started out with one the size of the tip of the nozzle and then reduced the depth as I increased the size of the bit. So you essentially have a cone shaped hole in the center of the block.
I did the same thing for one corner for the cap of the glue. And also did one with my smallest drill bit for a straight pin to park itself in case of clogs in the nozzle. (That's the little pearl you see sticking up there in the finished product. In the photo below, it is actually sitting in the cap holder.)
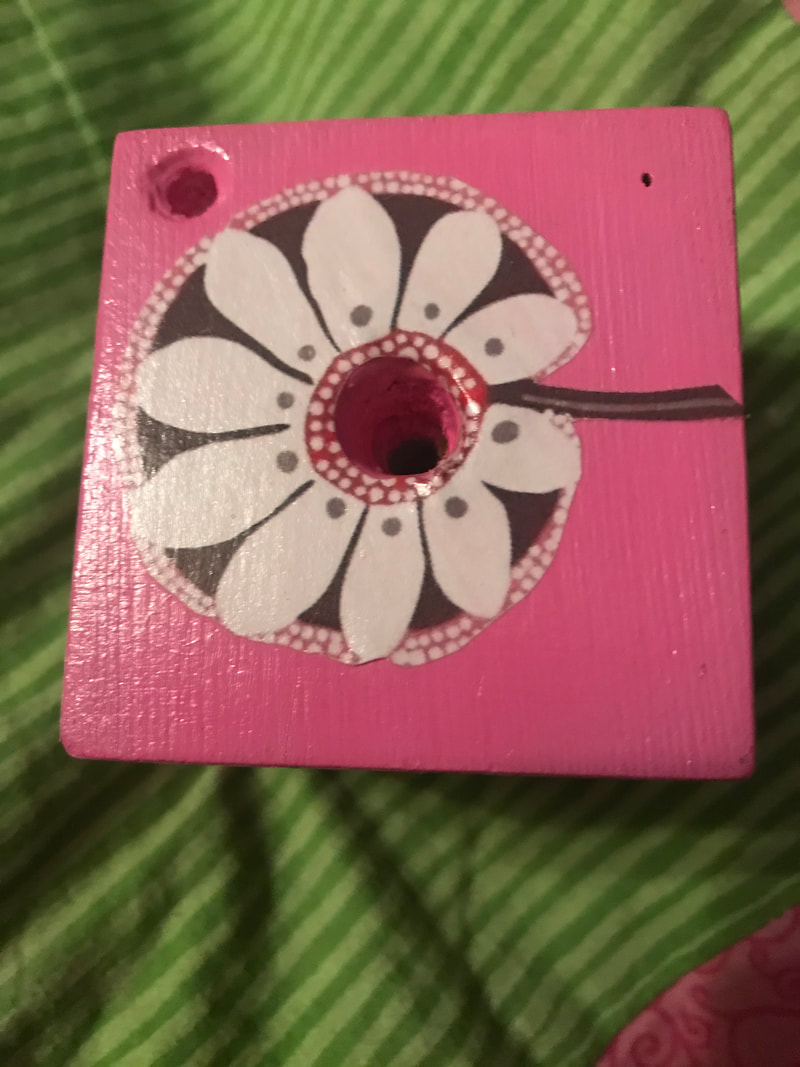
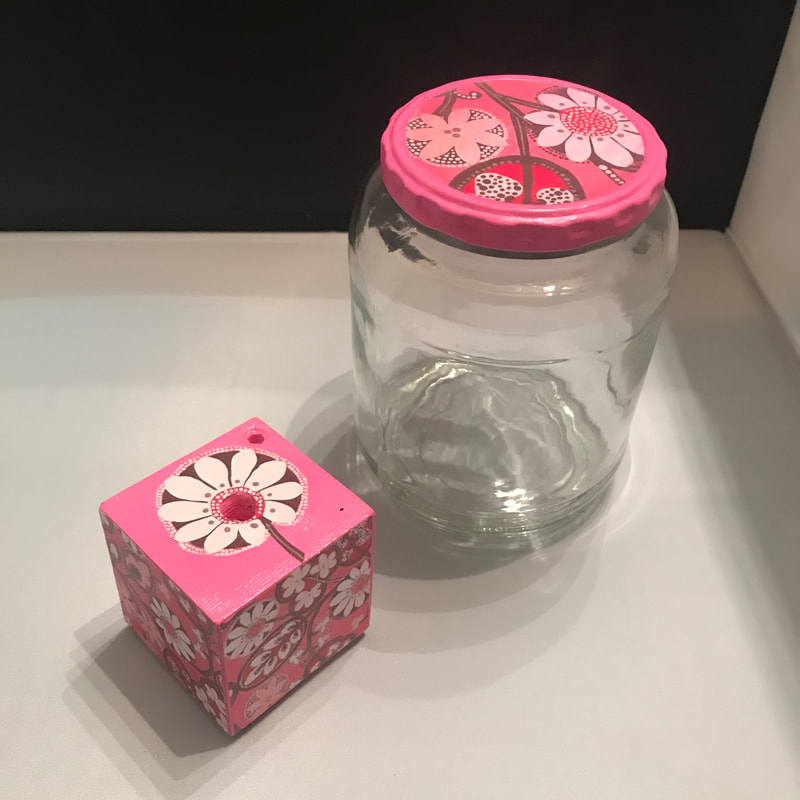
I had visited the Vera Bradley store in town recently and purchased a mask there with the Pink Blush pattern. I also had it on my phone for the wallpaper. The longer I looked at it, the more I decided I wanted the same thing for my new little assistant. I worked with my paint mixing for a while before I got the shade I wanted to compliment the pattern.
I painted a couple of coats before starting to add my decoupage pieces. You don't want them to overlap, on the sides, because with normal wear and tear it could start to look ragged. Thus I figured the paint would be a good buffer for the transition around the sides.
 | 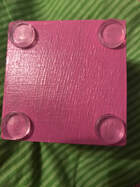 |
I allowed my sides to dry for a couple of days each before going on to the next step. More out of precaution than anything else. I also painted the bottom and added little non-skid feet that I was able to find at WalMart.
He was sitting there just waiting for a job when a friend was starting to toss a large pickle jar.. So I had the idea to give him a matching friend. I haven't decided what will go in there yet but it does actually hold some of my smaller glue bottles.
(These are for the idea only. They are not for sale and shouldn't be with any images that hold a copyright.)
 RSS Feed
